A kitchen counter with a handful of fixed sockets forces every appliance to compete for the same few spots. The kettle, rice cooker and air fryer each want the same spot, and the one outlet behind the microwave is never where you need it. A kitchen power track changes how that power is laid out, but it also raises practical questions about where it goes, how much it can carry and what it costs. This guide works through each of those, using the specifications and prices we publish for our own tracks.

A kitchen power track is worth it when several appliances share one counter and you want to move them without extension cords. Place it along the backsplash or island side, away from the sink and hob, keep the combined load within the track’s 8,000-watt limit, and budget for the track, adaptors and a site survey before installation.
The case is strongest where appliances move around. If your kettle, coffee machine and rice cooker swap places depending on what you are cooking, a rail with sockets that slide along it lets each one sit where you use it. Our power track system page shows how the rail and its adaptors fit together.
The case is weaker in a small kitchen with two appliances that never move. Two well-placed wall sockets may serve that layout just as well, and they cost less. The deciding question is how often your counter layout changes, not how modern the track looks.
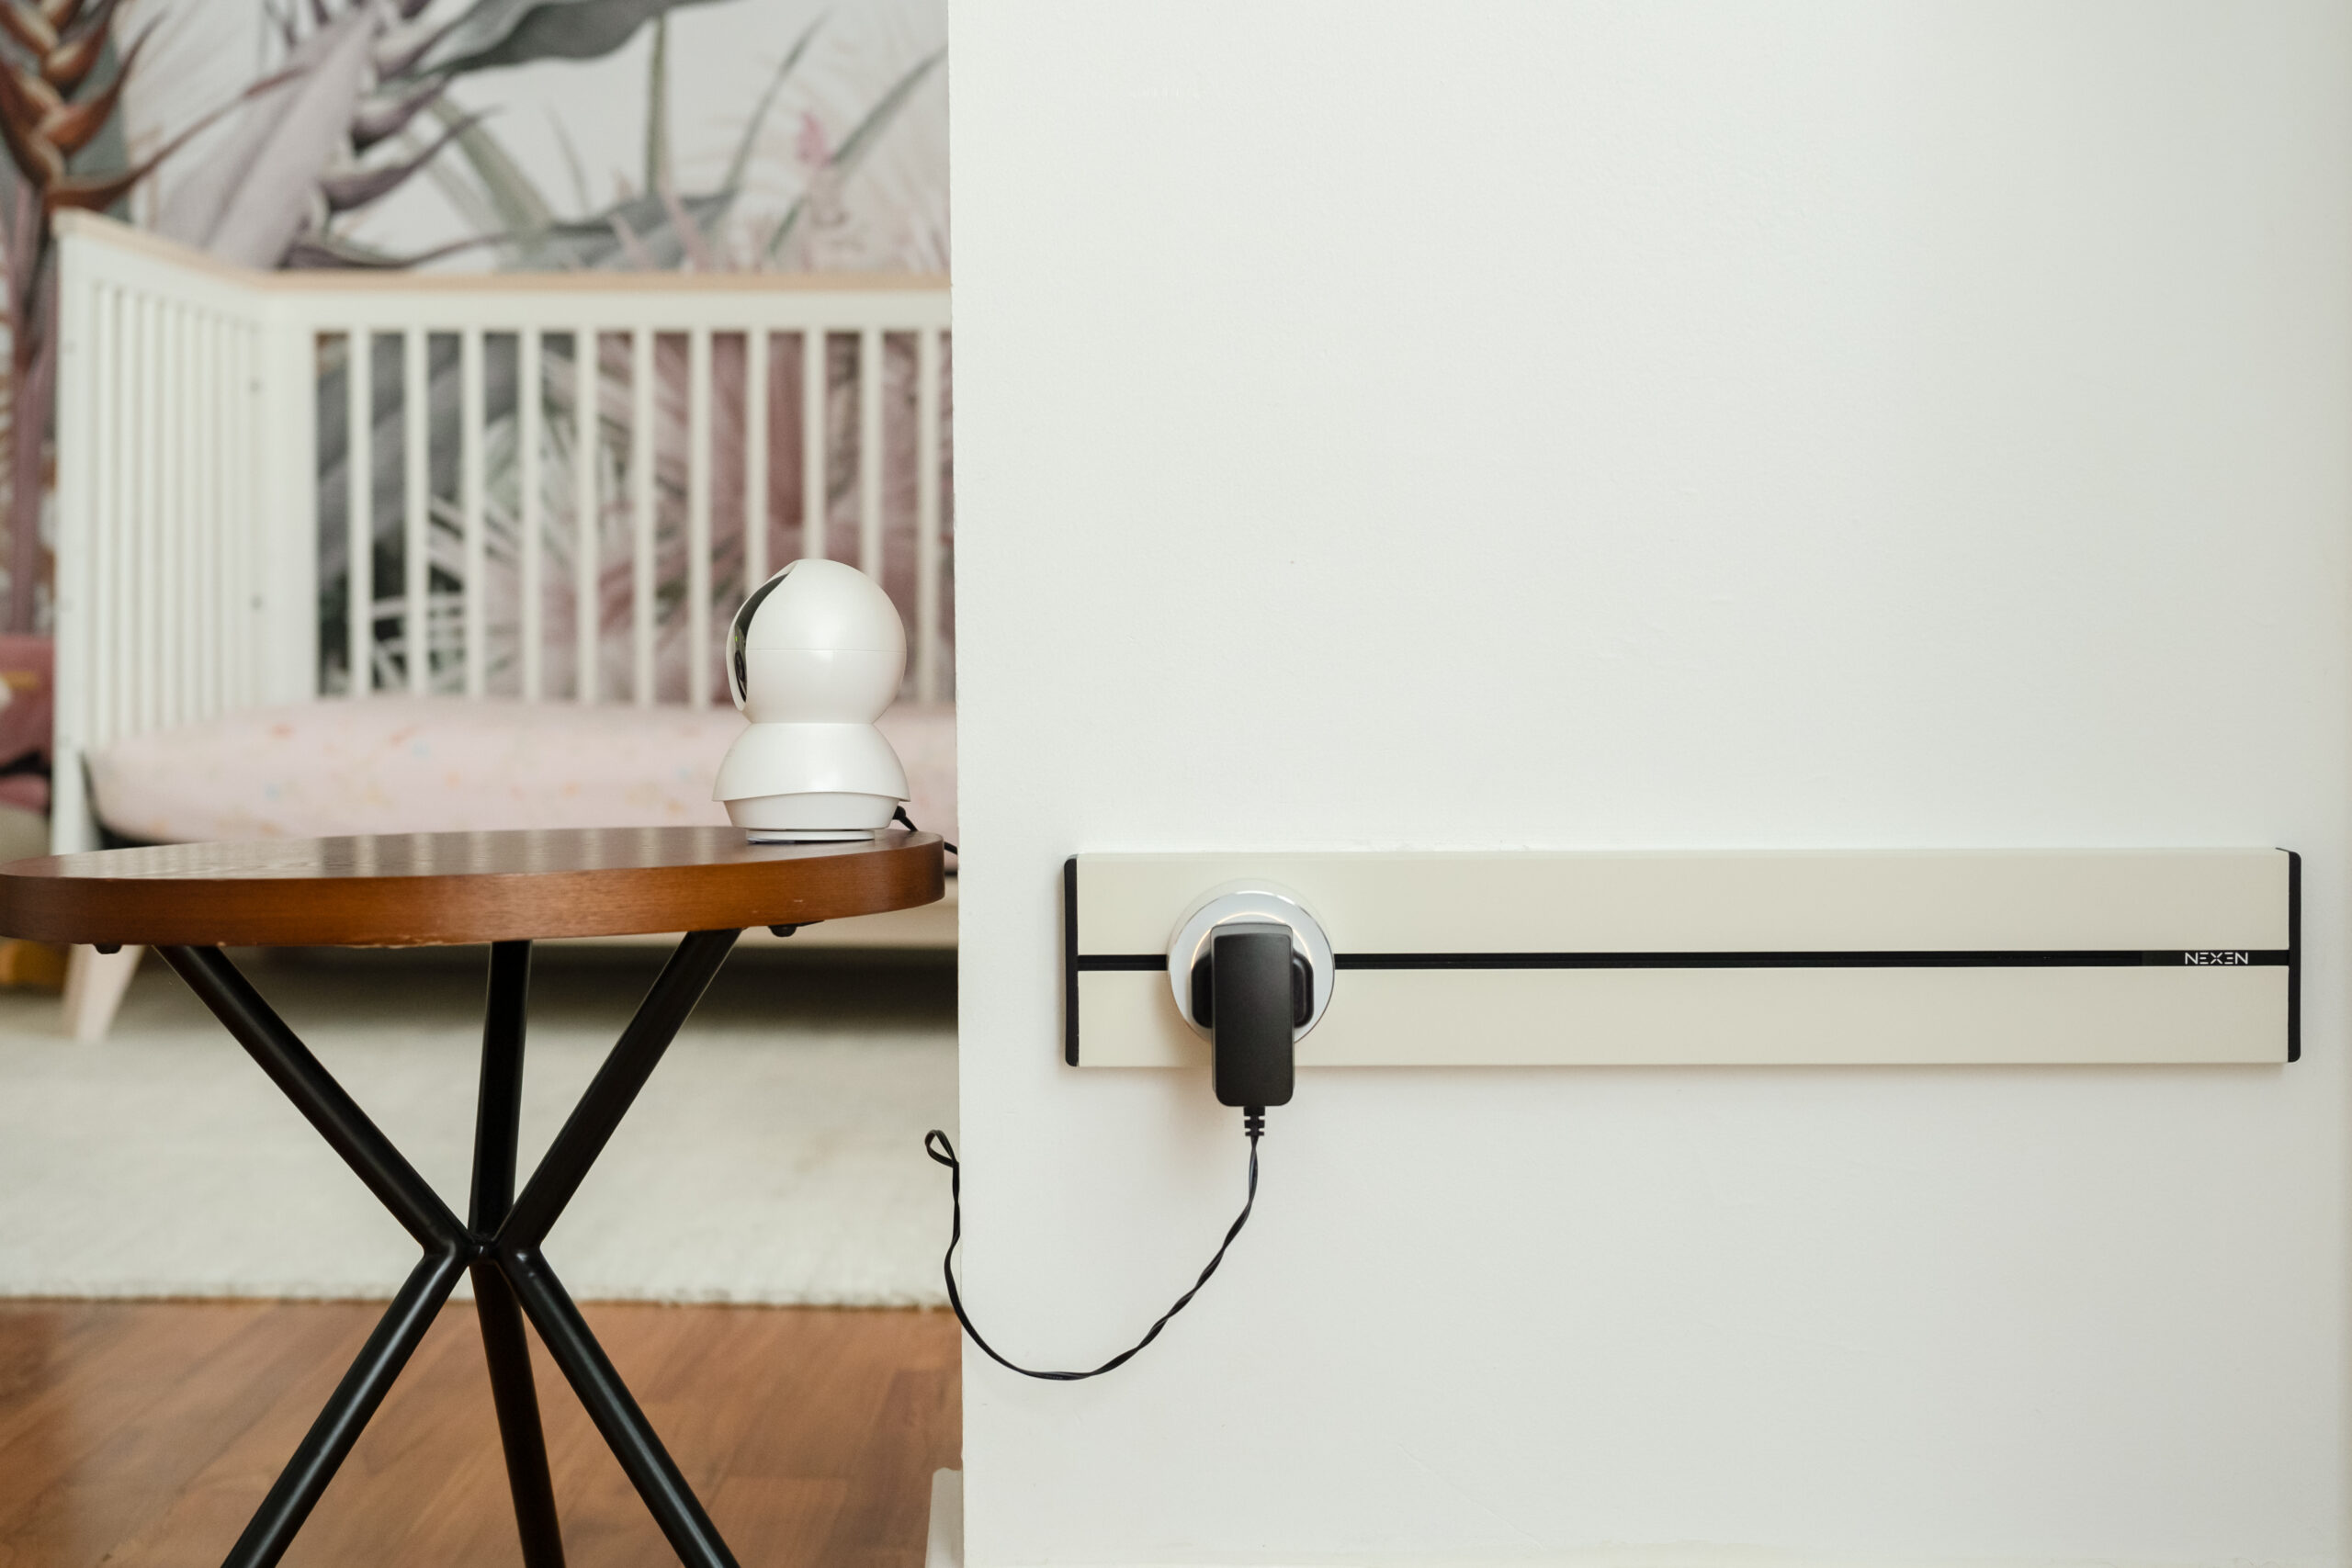
The backsplash between the counter and the upper cabinets keeps the rail at hand height and off the work surface. The side of an island or peninsula works too, giving power to a seating area or a second preparation zone without a socket plate on show.
Keep the track clear of the sink and the hob. Our adaptor manual says to keep adaptors dry and away from water, so a run that stops short of the tap area and the splash zone of the hob is the safer layout. Mark the planned run on the wall during the site survey so you can check it clears the tap and hob before anything is fixed.
A surface track mounts onto the face of the wall or cabinet and suits a finished kitchen. A recessed track sits flush inside a cut-out, which looks cleaner along a stone or laminate backsplash. Recessed installation inside furniture is possible, but your carpenter needs to prepare the cut-out first, as our FAQ explains.
That makes timing the deciding factor. A recessed track is easiest to plan during a renovation, when the carpentry is being built anyway. Our guide to surface vs recessed power tracks compares the two for existing homes and renovations.
Measure the stretch of counter where appliances actually sit, rather than the whole wall. Our SLIM Series comes in 50cm, 75cm, 100cm and 150cm lengths, and the Pro Series in 60cm, 80cm, 100cm and 150cm.
A longer run is not automatically better. On the SLIM Series the price works out to roughly the same amount per centimetre at every length, so you pay for the rail you use. A 100cm track over the main preparation area can do more work than a 150cm track that stretches behind the sink, where it should not be used.
Kitchen appliances such as kettles, ovens and induction cookers heat food or water, so check their load before they share a track. Our product brochure rates each track at 32A and 250V, and a 1.5 metre SLIM track safely powers up to 15 devices as long as total power use stays within 8,000 watts.
Before you plan which appliances share a track, add up the wattage printed on each one’s rating label. If the kettle, oven and induction cooker would all run at once, spread them across two tracks or keep one on its own wall socket. Singapore’s fire-safety advice to households is plain on this point: don’t overload electrical points, as the Chua Chu Kang Town Council fire safety tips put it.
Each appliance plugs into an adaptor that clips into the rail and twists to lock. Every UK adaptor is rated at 13A, which covers one appliance at a time. Our guide to power track socket adaptors explains how they fit, switch on and slide along the track.
For a kitchen, start with one adaptor per appliance that runs daily, plus one spare for a blender or mixer you bring out occasionally. Because adaptors can be added later, you do not need to buy for every appliance you might own one day.
If the track sits under the upper cabinets, the SLIM Surface Plus adds dual 2.4A USB ports and an option for an LED light strip that lights up when it detects motion. That puts phone charging and counter lighting on the same rail as your appliances, without a separate plug for either.
The SLIM Surface Plus costs from S$178 for a 50cm track in black to S$535 for 150cm, track only. It is the one to consider if you want the rail to do more than supply power.
In a family kitchen, the design of the track itself matters as much as where it goes. Our tracks have gaps under 6mm with soft plastic flaps to prevent accidental contact. They are certified to BS 5733, the British standard for general electrical accessories, and registered for the Safety Mark.
The adaptor locks to the rail when it is switched on and cannot be pulled out until it is turned back to the off position. That keeps the adaptor in place on the rail while an appliance is running.
For a typical kitchen counter, a 150cm Pro surface track in royal white costs S$393, and a pack of three UK adaptors adds S$179.70, which comes to S$572.70 before installation. A premium finish that matches your cabinetry raises the track price.
Our power track price guide breaks down the price of each series, length and finish, with worked totals for a desk and a kitchen.
Installation is quoted per kitchen because it depends on where the power supply sits, what the backsplash or cabinet is made of and how long the run is. Our in-house electricians install islandwide, and every quote starts with a free site survey so the figure reflects your actual layout.
If you are renovating, bring the track into the plan before the carpentry and backsplash are finalised. That leaves room for a recessed install and lets the electrician run the supply to the right spot first time.
Start with three answers: the stretch of counter you want powered, the appliances that will run there at the same time, and whether the track will be surface or recessed. With those, WhatsApp us using the button below and our design consultants will suggest a track length, adaptor count and placement for your kitchen power track.

No. Keep the track and its adaptors away from water and out of the sink’s splash zone. Run the track along a dry stretch of backsplash, and keep appliances that live by the sink on a separate wall socket.
No. The track connects to your home’s wiring, so we recommend leaving installation to our electricians. Adding, moving or removing adaptors on the rail afterwards is something you can do yourself by hand.
Yes, either mounted onto the backsplash or recessed into a cut-out. For a recessed track, plan it before the stone is fabricated so the cut-out is made with the rest of the backsplash.
Yes. A surface track suits a finished kitchen because it mounts onto the existing wall or cabinet without new carpentry. Our free site survey checks where the power supply sits before we quote.
Click on the link to find out more about our services and products. Chat with our sales representatives today!
WhatsApp Us
Home
About Nexen
Our Products
Luxe Collection
Power E-Bar Collection
Kinetic Switch